

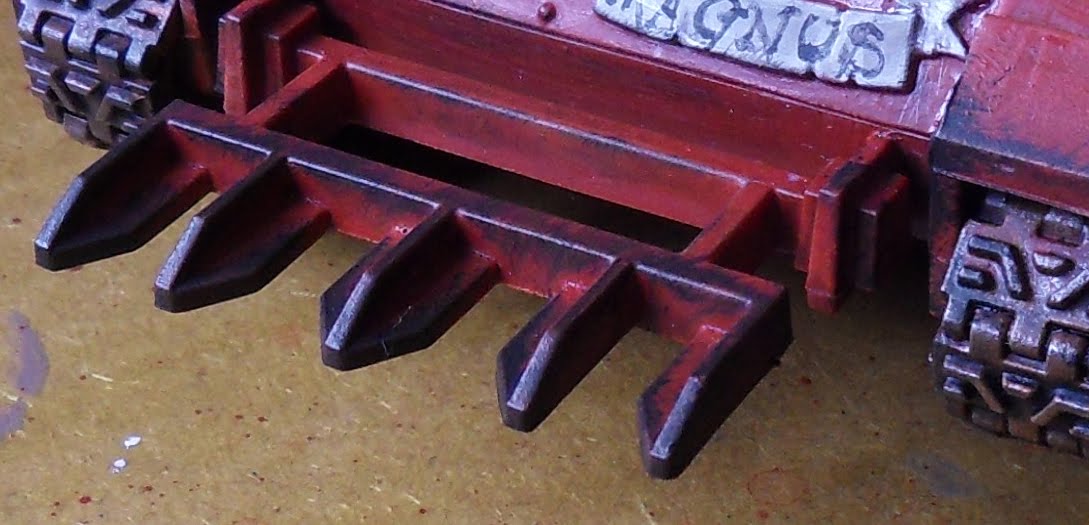
Here we go then, this is the factory-finish Razorback, technically the weathering has already started as I painted the tracks in the heavy looking Jeff-rust. You might notice some little flecks of white or brush strokes. That was the disasterous Tamiya Flatbase. Grr. Oh and the mug was a free sample, cool eh?
First step is to get ALL decals, markings and any other painting done. You cannot go back once you have begun. Next it is to get all of the scratches and dings painted in. I use a sponge for this, just one of the pick and pluck columns from a figure case is good enough:

Next, mix a 1:1 batch of Scorched Brown and Chaos Black. Keep the mixture fairly thick as you want it to sit on the surface of the sponge rather than soaking in. Dip the sponge in the paint and lightly dab the paint off on the tile to test coverage and remove excess.


Then you start the part that needs practice and observation. Use the edge of the sponge to dab dings and knocks onto the edges of the tank that would hit things:


Notice that for example, the inside edges of the front of the tank, the edge of the exhaust housing furthest from direction of travel etc. are not bashed up. This is deliberate as these areas are not in regular contact with trees, walls, hedges, stray dogs or anything else that would scratch or bash the paintwork. Next look for areas of the tank that would be affected by the crew's actions, hatch covers clanging open, armoured feet clambering up stairs and ladders etc:

The next phase is painting in the metallic scratches in the centre of these dings and scrapes. Now some people have suggested using very bright metallics for scratches and so on. This looks great but rewards a cartooney style of painting that is not my preferred style. I like a healthy dose of realism with my fantasy and sci-fi (no surprise I preferred Battlestar Galactica and Babylon 5 to Star Trek). I use a 1:1:1 mix of Chaos Black, Scorched Brown and Boltgun Metal to paint in the scratches. When doing this think "fried egg". The sponged on Black/Brown mix is the white and the metallic shade is the yolk. You want some white around the yolk and indeed on the smaller dings and scratches no yolk at all. This is tricky, you will need practice, start with the edges of the scratched areas and then paint the scratches out from that. The effect is subtle so difficult to see in the pictures, also it looks quite crude in the high magnification close ups but trust me, in scale it looks ace:


The next step is getting a wash of dust over the tank, you need to choose complimentary colours to your chosen basing, no point having desert dust on a woodland base right? For best results choose one of these colours: Graveyard Earth, Kommando Khaki or Desert Yellow. Why these shades? Because they are really insipid in their pigmentation so they do not overpower the paintwork beneath. If you want to go heavily muddy (a discussion for another time) you go with scorched brown to be the barely liquid mud splashed over the tank but this WILL change the paint scheme. Water down your chosen colour a lot, I'm talking like weak tea here, I've tried to photograph the sort of dilution you need but it's tricky, if you look carefully you can see the marks on the tile through the wash. It's that thin:

Next load up a brush and start to paint it onto anywhere the dust would gather on the tank, I've taken lots of reference shots of the Razorback but as a rule of thumb if the wash won't gather neither would dust:

Right, I need you to trust me here, really load the wash onto these areas, it needs it, it looks ridiculous but trust the Pirate Viking. I know of what I speak:


What you need to watch for is gravity drops of wash that will dry with a tide mark, leach these away with a clean brush:

Now leave it alone! Really! I left it for as long as it took to do all of the digital photo jiggery-pokery and to write the tutorial up to this point. It's been about an hour and a half all told. Now make a cuppa and head back to work:


There, it dries to a nice dusty finish, aren't you glad you trusted me? You can take the dust washing further but on this tank there is no need, I wanted to keep the bold red. Finally we need to kick up dust from the tracks and dirty up the lower parts of the Razorback. This is achieved with drybrushing, start with Graveyard Earth, this is worked in a circular motion and follows the line of the tracks and anywhere the tracks would kick dust onto:


Next mix up a 1:1 mix of Graveyard Earth and Bestial Brown, drybrush this over the same regions except use less and leave a band of Graveyard Earth showing:


The last stage is to drybrush a small amount of Bestial Brown along the closest regions to the tracks. And you are done!

Once I have my photographic set up out again I shall take some decent shots of the end result but this should give you the general idea. Hope this tutorial has been useful. Please comment if you have suggestions for improving the tutorial style or if you want more.
TTFN
This is superb, mate: and thanks for the helpful email!
ReplyDeleteI've just given you a shout-out in a forthcoming post.
Awesome!
ReplyDeleteExcellent tutorial.
ReplyDeleteGreat tutorial, used this advice to weather up 3 x Leman Russ tanks and a Chimera. They look much more realistic now! Many thanks
ReplyDelete