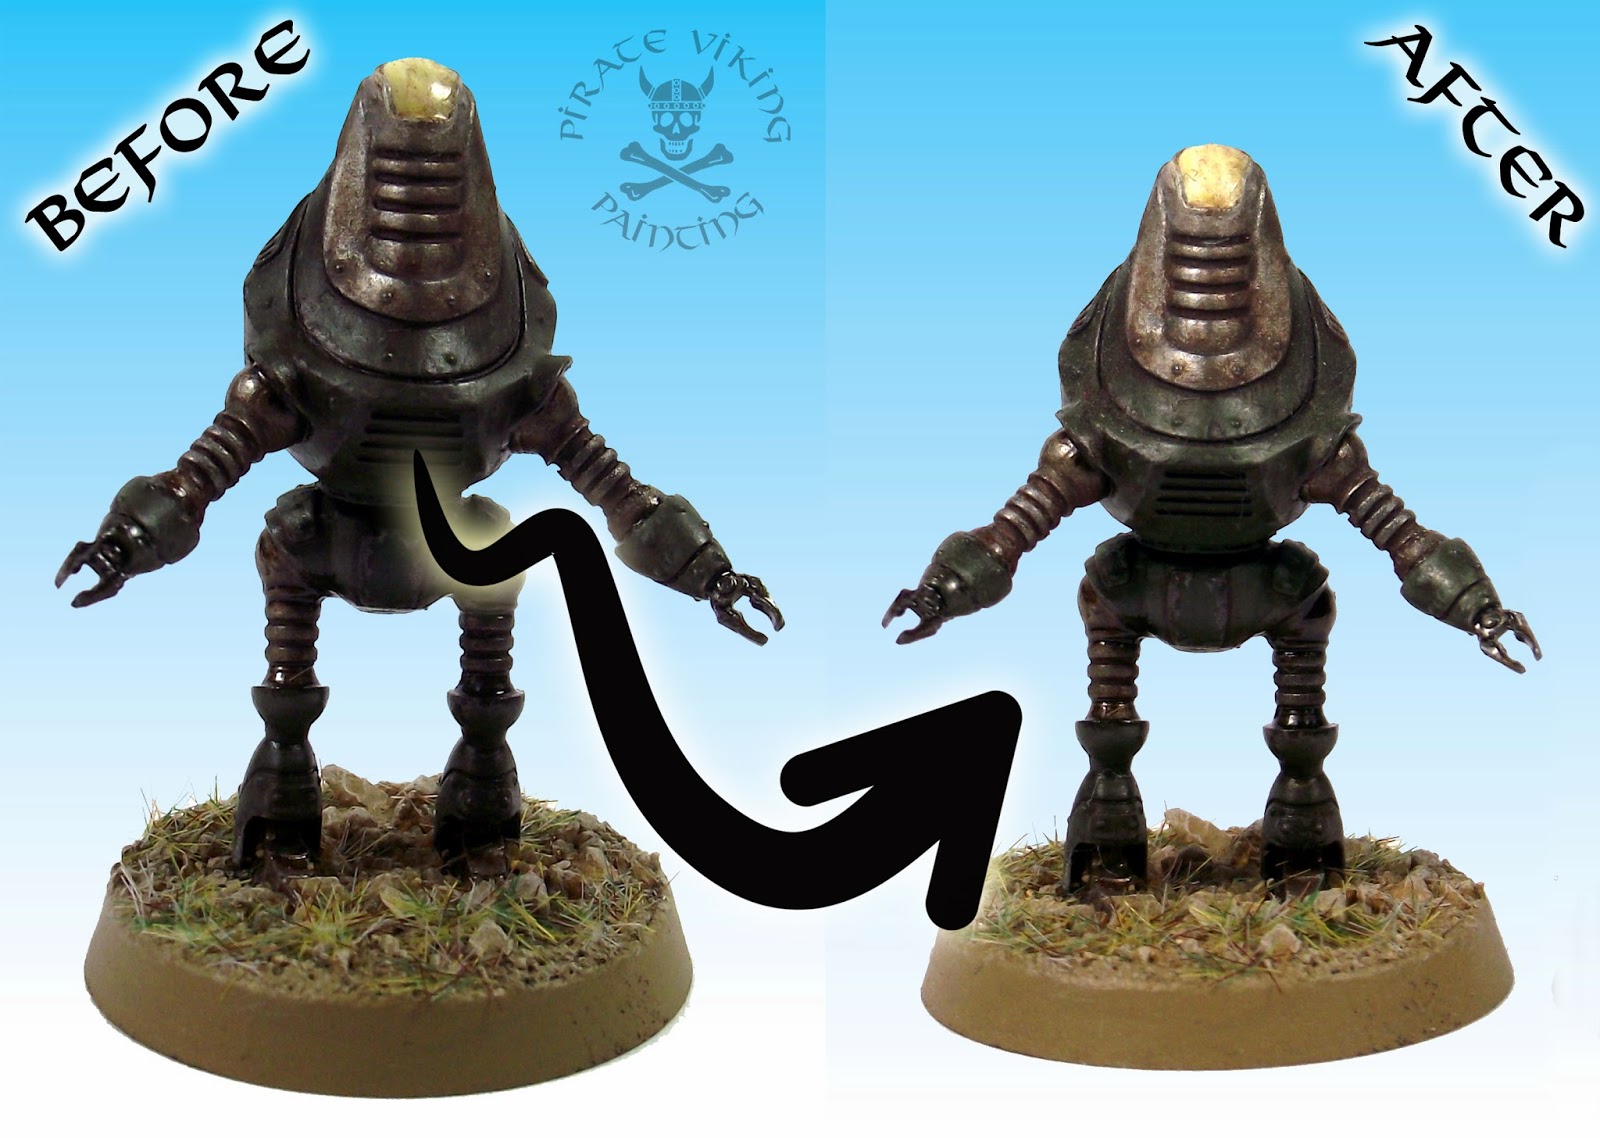
There has been lots of discussion lately on the subject of photographing miniatures so I thought I would dig my original article on photography out and finish it off with some information on post production. For the most part I am photographing figures to showcase painting rather than for battle reports. I'll let others with more experience deal with battle reports and I'll stick to painting showcase work.
I used to use direct sunlight to light the shots. This is fine in June but even in high summer Cardiff's sunshine can't be relied upon! I thus created a light box to take shots in. Now if you buy a professional light tent/box you will be shelling out an enourmous amount of money. I built a much more Heath Robinson affair:

The first thing to notice is that there is a LOT of light going in to that box. Two 100W daylight bulbs are providing the necessary oomph there. The anglepoise lamps by the way are from Ikea and are the cheapest you can get (£8), I heartily recommend them for anyone with inadequate light while painting. Use energy savers in them for long term painting though as the incandescent bulbs get extremely hot and you will have them near your face. A lot of people diffuse the light by shining it through white muslin or greaseproof paper. This is to reduce the harshness of the direct light. I've never had a single problem with this as the white box bouncing the light around kills the harshness. Were I to use a coloured backcloth or shoot on a gaming table I would diffuse the light however. The box itself is made of five pieces of A3 Foamcard, simply masking tape them together into a five sided box. Before you add the lid you need to eradicate the lower corner of the box or it will show up in every single photo:


It's a bit tricky to see so I highlighted the curve in red on the second picture. Run a line of double sided tape along the front edge of the box and a two more lines about two inches from the lower corner on both the bottom and inside back of the box. A final line of tape on the top edge of the inside back and you are ready to rock. Don't expose the "double-sided" bit of the adhesive yet as it will make the job harder. Now take a long piece of white paper (I used wallpaper backing as it is dirt cheap) of an appropriate width - it needs to run from side to side of the box. Expose the adhesive on the front line of tape and attach the paper to it, then move back along the rows of tape glueing down the paper as you go so that the highlighted curve is formed between the middle two rows. For neatness I allowed the paper to overlap at both ends and folded them under with a bit of masking tape to secure them.

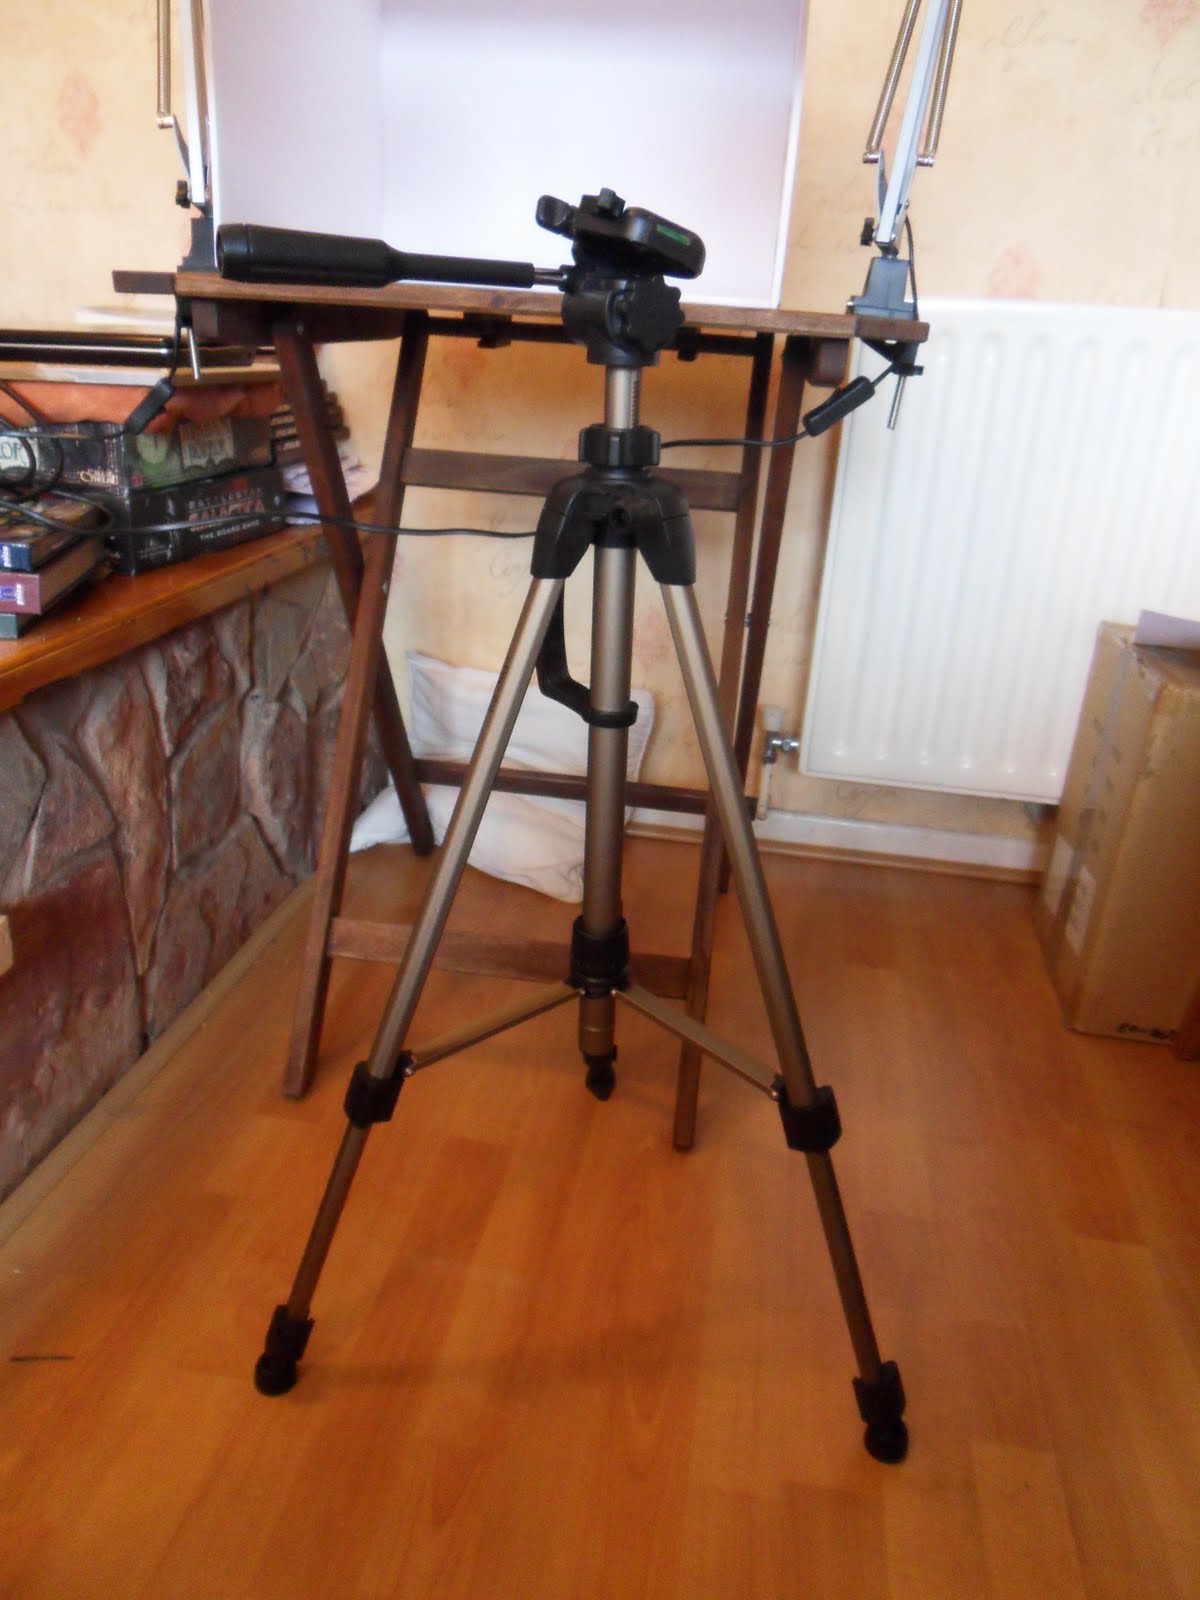
A good tripod is essential to miniature photography. Mine has a spanky feature of a telescoping central bar that you can wind up to adjust the height of the camera. The pillow is an optional extra and doesn't do a darn thing except look messy on photos, sheesh. The tripod eliminates hand shake - just be careful of things like washing machines on the same section of floor, seriously, I have had photos shaken by household appliances! Always use either a remote shutter control or use the self timer feature to eliminate that final human element of the shutter press. For gear-geeks like me: the camera I use is a Samsung WB500. This is an ace piece of kit. The most important feature it has is a 10x optical zoom. Now go look at how much it costs on amazon and then compare some other 10x optical zoom prices! For non photographers out there, the optical zoom is important because all that most cameras do is enlarge the centre of their field of vision to zoom. All this really does is crop the image and thus reduces the resolution every time you zoom in. An optical zoom uses all of the available pixels in the reader and just makes the camera focus all that resolution on a smaller area.
With the gear dealt with I thought I would take you through the process of preparing models for display on Pirate Viking Painting. I've just finished a devastator squad for my Blood Angels and so we'll use this as our example. First, a long shot to establish the group effect:
Make sure that you use the macro settings on the camera with the broadest possible depth of field. Unless you are very adept at using cameras it is best to let a good cameras settings take the strain. On my model the "food" setting is the best mix of depth of field and macro focussing. Next, I individually photograph any more interesting figures, just keep the others out of the field of shot and you can quickly go through the whole batch.
We now have the "raw" footage of the models. Most cameras these days allow you to play with the white balance within the settings. I prefer to use photo manipulating software to correct the colours. I'm lucky enough to have photoshop but there are lots of cheap alternatives that do the same job for this kind of work. Why do you need to do any of this you ask? Well, here is the raw shot:
Technically there is nothing wrong with this, the picture is in focus, the composition is a little off, too much white space but otherwise ok right? Now look at the results after the software has done it's work. I just use the auto levels feature:
Now you can see the reason for all that white space, it helps the software to recognise what is white and adjust the colours to fit. Now to loose all that horrible composition, just crop the region that you want; leave a little white space around the image.
There we are! Now we look at the individual models. Mostly they are processed in exactly the same way as the group shot but with additional cropping to draw attention to interesting features; like so:
The sergeant is a nice model and gives me a chance to talk about the general principles of how the unit was painted. However the wing on the shoulder looks nice and draws the eye so I took a second shot from a better angle and cropped to showcase the wing:
Simalarily the lascannon model has a section on it that I found interesting to paint so I took a pair of shots to showcase it. This is the opportunity to introduce interesting/useful painting techniques like so:

"The lascannon has that odd concertina section between the barrel and the rest of the gun. I've seen this painted in all sorts of different ways ranging from a recoil spring - mildly ridiculous on a laser weapon - to coils of wire like on the plasma guns. I figured that they would either be a train of focussing lenses or an insulator between high tension sections. I eventually went with insulator and decided to try and paint it like the glass insulators on electricity pylons. This was achieved with an Orkhide Shade basecoat, the shading defined with Badab Black. The highlights needed to be sharp to show that glassy effect so an Orkhide Shade and Skull White mix was used. To get the green/blue glassy feel back I washed the insulator in Thraka Green and Asurmen Blue. A gloss varnish finished off the effect:"

Its easy to overdo this kind of detail shots. Just pick ones that show things that you have done differently, been proud of or showcase a technique you want to share. Here are the other detail shots taken from the Devastators and why they were chosen:
Used to showcase the technique for heat blackening the nozzels of the Multi-Melta
I just like the radiation symbol! Plus it shows off all of the work I did individually painting all of the wires to add realism.
Showcasing the verdigris weathering of the copper containment coils. I figured copper as plasma is contained by magnetic fields. The easiest way to achieve that is with an electromagnet, hence copper coils. Given how old these weapons are I figure a build up of some oxidised copper was inevitable.
Finally, write up the background text explaining your pictures and get them online!
Well, I hope that this article has been of use! Feel free to contact me if you want any questions answered.
TTFN